
One of the newer members of the upright city bike club, the AustralianPapillionaire (a sponsor of this blog) has recently opened its doors in the USA and sent me a bicycle to try - their step-through Sommer model in the aptly named "Boston" colour scheme. Based on a traditional European loop-frame design and available in a range of candy colours, the lugged steel Sommer also comes with an attractive price tag - starting at $429 for a basic single speed bicycle, including fenders, chainguard and rear rack.
Founded in by a brother and sister team in Melbourne,the Papillionaire name is based on the Latin word for butterfly (
papillio)- reflecting their philosophy that "riding should be easy and fun and of course look good at the same time."
The bicycle frames are designed at Papillionaire's Australian office and manufactured in Taiwan to their specs, along with the rear racks, and custom leather grips and saddles. The finish is powdercoat.The stated weight of the complete bike is 29lb.
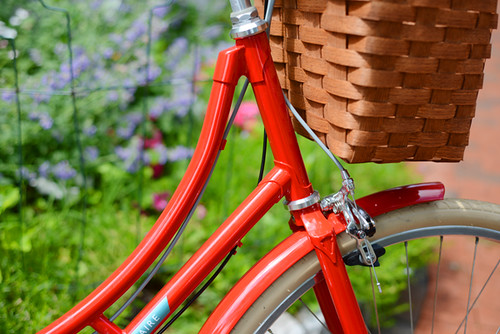
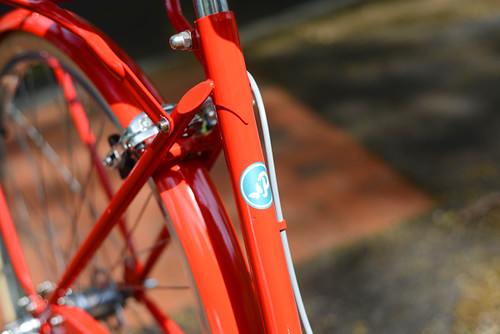
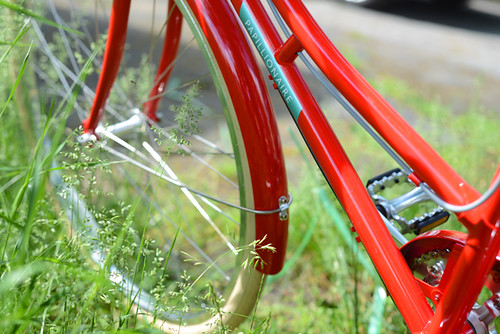
The cro-moly frames are lugged and the fork features an attractive crown with cutout detail.
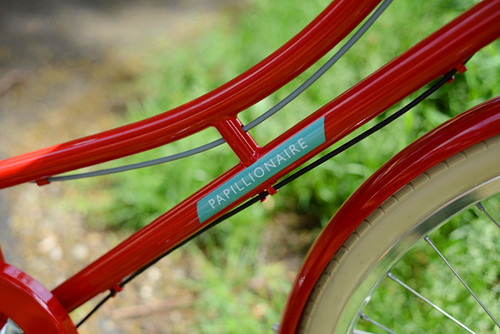
Here is a look at the seat cluster.
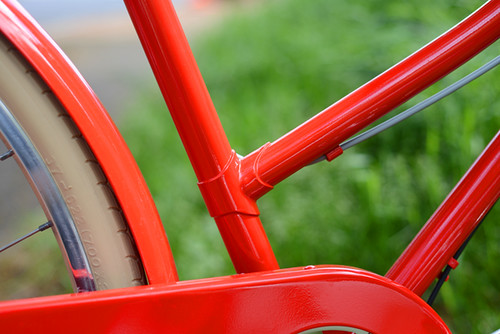
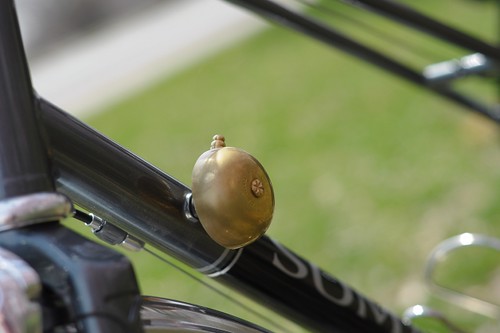
And the junction of the curved top tube with the seat tube.
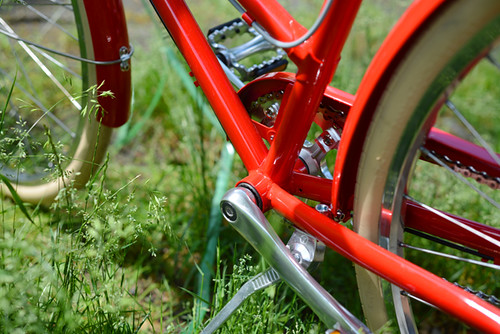
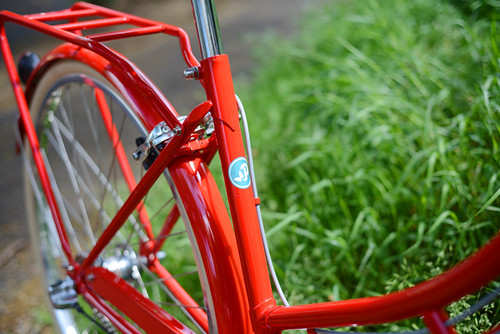
The bottom bracket is the only lugless joint on the frame, and it is done smoothly.
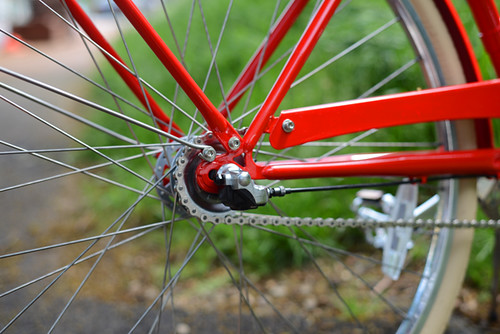
The horizontal dropouts in the rear accommodate hub gearing and incorporate braze-ons for rack mounts, fender mounts and chainguard bracket.
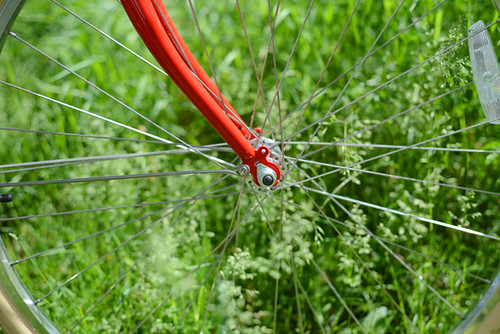
Braze-ons for both fenders and front rack on the fork dropouts as well.
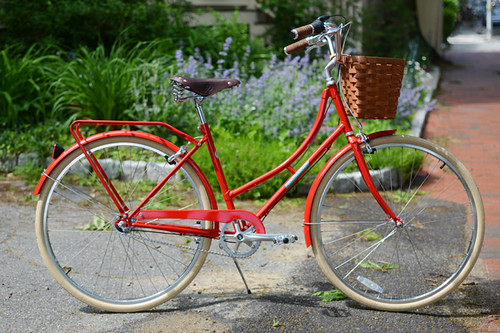
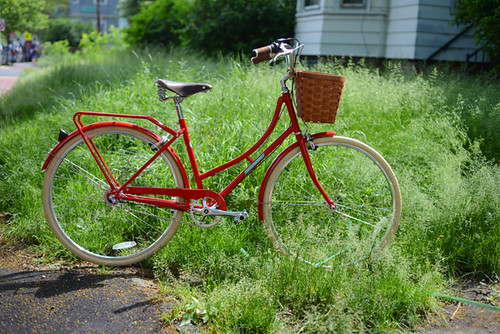
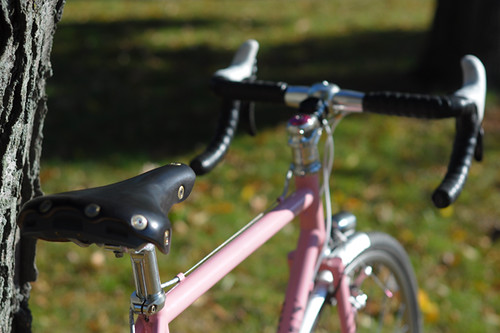
The Sommer comes in two sizes: standard and small.Aside from the curved top tube, a main distinguishing feature of this model is its handlebars: Somewhere between North Roads and Apehanger on the upright spectrum, the bars have quite a rise to them. This has the interesting visual effect of making the rest of the bike appear miniature, almost toy-like in comparison. In fact the bike is normal sized, with 700C wheels to boot - it's just that the handlebars are quite massive - intended, in combination with a short top tube, to achieve a super-upright riding position.

View of the bars from the rider's perspective.
And a side view of the rise. Note that t
he stem here is shown lowered to maximum capacity.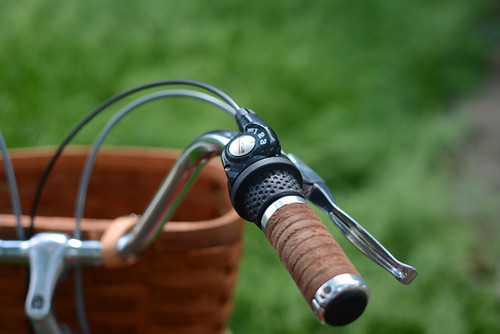
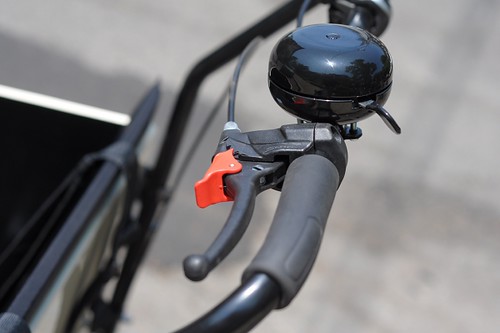
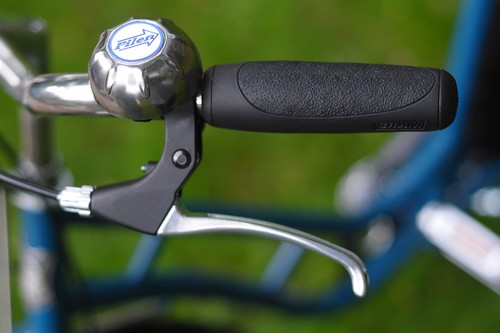
The test bike I received was set up as a 3-speed, with a Shimano Nexus hub and twist shifter, front and rear caliper brakes,
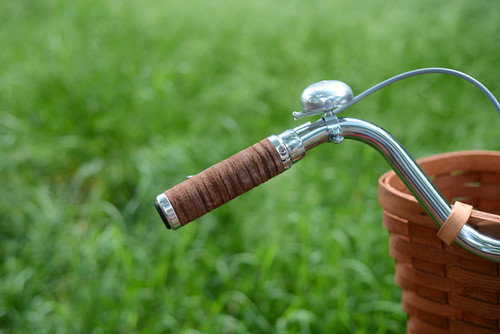
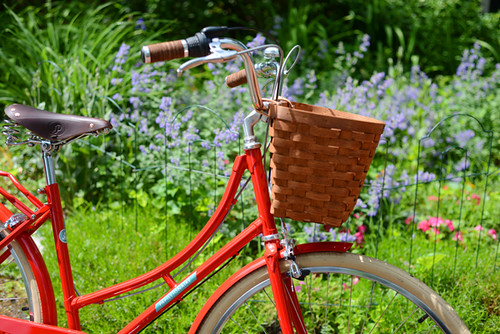
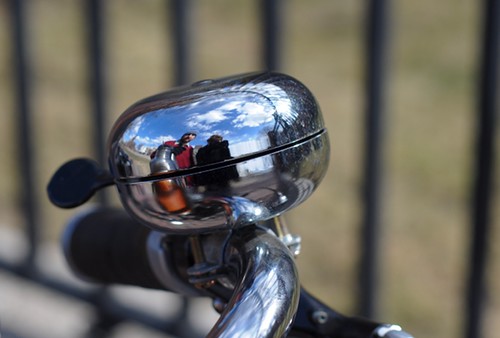
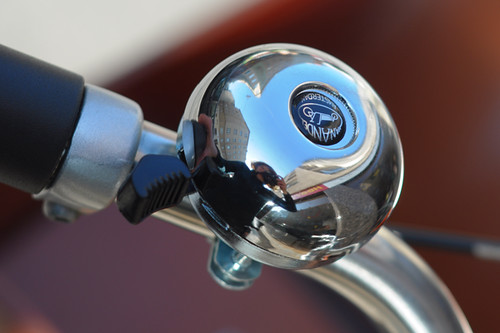
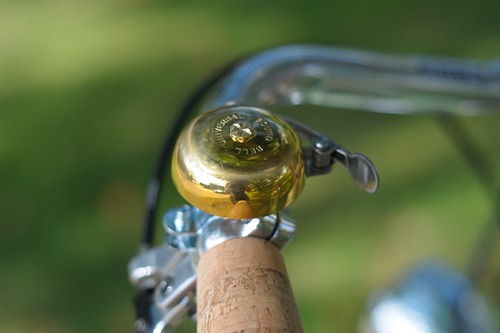
Papillionaire's leather grips (a copy of the Brooks version, it seems), a silver bell,
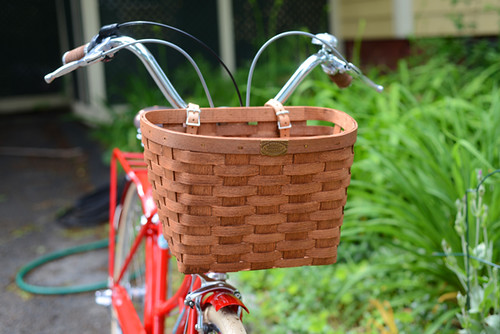
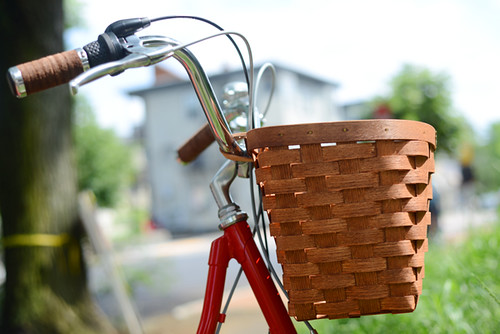
a Peterboro front basket (big enough to fit a handbag or similar),
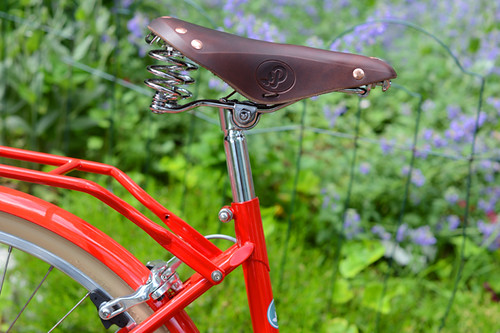
and a sprung leather saddle (looks to be Gyes-made), embossed with Papillionaire's logo. Note that the saddle here is shown sitting pretty far forward, with the clamp not allowing further backward movement. A setback seatpost is now available to get the saddle a bit further back.
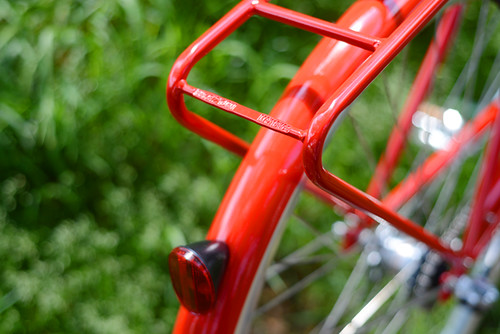
The Sommer's rear rack is rated for 18kg (40lb) of weight. No lighting is included with the bike, but the rear fender is drilled for a tail light, and a rear reflector is included. The fenders, rack and chainguard are all powder-coated to match the bicycle's frame.
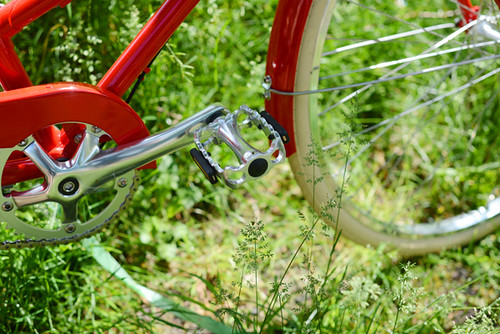
The alloy touring-stlye pedals come with reflectors.
The 700Cx35mm Kenda West city tires are available in gumwall or cream.
The Papillionaire was delivered to a nearby shop, the Bicycle Belle (read about it here), where I test rode it on a 4 mile urban loop simulating some of my usual local commutes.
Nothing about Papillionaire's branding suggests a focus on performance and speed, and so the bicycle's tame handling was consistent with my expectations. The Sommer is a bike for fluttering about town, not for "super commuting" 10 miles up hilly country roads. At the same time, the gearing is set quite low - so reasonable urban inclines are not difficult to tackle. And the roomy, integrated rear rack is a convenient standard feature, making it immediately possible to attach panniers, as well as rack-top bags and baskets to the bike.
On the whole, my impression of the Sommer was dominated by its bolt-upright positioning and tight "cockpit." Seated upon the saddle, my back was as straight as if I'd been sitting in a chair, and my hands gripped the handlebars just forward of my ribcage. The new setback seatpost alters these proportions, but only slightly: The Sommer was deliberately designed to be extremely upright. Those looking for that sort of fit will appreciate that, while those seeking a more leaned-forward, active position, may find the proportions limiting.
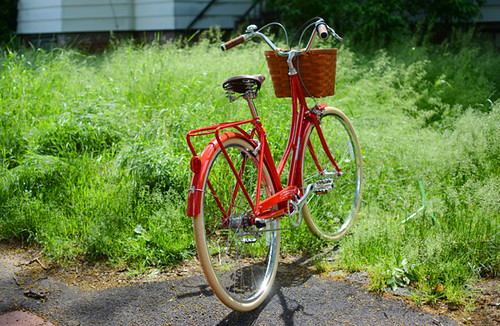
Another notable feature of the Sommer is its very high bottom bracket. Those who enjoy being perched as high as possible on a city bike so as to "see above traffic" will appreciate this. Those who like to stop with a toe on the ground without getting off the saddle, may not: The high bottom bracket will make it difficult to set the saddle height to make this possible whilst achieving full leg extension on the downstroke when pedaling.
While Papillionaire refers to their bicycles as "Dutch-style," theSommer is not a typical Dutch Omafiets. They do have the upright positioning in common. But the Sommer's frame angles are not as relaxed and the fork is not as raked-out - giving it a more compact, less boat-like - and also less cushy - feel than that of a traditional Dutch bike. The Sommer's combination of tight frame, 700C wheels and wide tires also leaves very little toe clearance with the front wheel; some riders may experience toe overlap.
The 29lb stated weight figure feels pretty accurate; for a bike of its kind the Sommer is on the lightweight side. But note, that (to be fair, like most bikes in its price category) the Sommer does not come with lighting options - something I hope Papillionaire (and other manufacturers) will consider remedying, since the bike is intended for regular commuting.
Since Papillionaire expanded its market to the US, I'vereceived regular emails from readers asking how it compares to the popular Bobbin Birdie(see reviewhere).As far as apples-to-apples comparisons with other city bikes, I think this is a fair one: Like the Sommer, the Birdie isa Taiwan-made lugged cro-moly loop frame with hub gears, fenders, chainguard and rear rack, at a similar price point. As far as quality, I find the bikes equivalent - from the finish, to the components, to bike shop mechanics' feedback on the quality of the from-the-factory assembly. As far as frame design and ride feel, there are notable differences: The Sommer is a considerably more upright bike, and it is fitted with 700C wheels, whereas the Birdie is a 26" wheel bike with a position that (while still firmly in the upright category) is more aggressive, and to me feels more responsive. So the choice between the two will likely rest on the type of fit and ride quality a cyclist prefers. Go with Papillionaire if you want to be more upright and higher off the ground; with Bobbin if the reverse. Price-wise both are pretty good deals. I get so many inquiries from readers looking for new, but "vintage-style" upright bicycles at reasonable prices. It's great to have multiple options in the sub-$700 price range.
The Papillionaire Sommer as shown here (the 3-speed version, with leather accessories and basket) is priced at $629, and is available to test ride at the Bicycle Belle in Somerville, MA. Aside from the Sommer model, Papillionaire also offers a diamond frame and, most recently, a mixte. You can check out the specs and colours of all their modelshereand see the complete Sommer picture set here. Many thanks to Papilllionaire and Bicycle Belle for the opportunity to try this bike!

 Fred, Saucy?


 In Our Winter Garden March 27, ..Copyright © .. by Rebeckah R. Wiseman
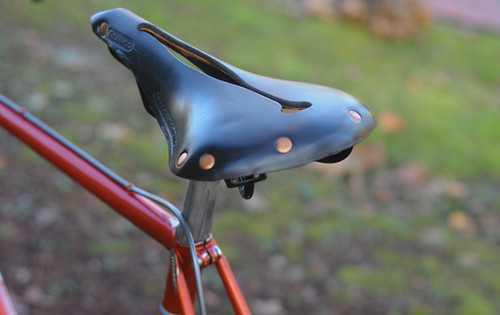


 This was my best photo actually looking down at Albuquerque, NM from Sandia Crest. It was hazey this day, on better days you can actually make out buildings and streets in Albuquerque, and with field glasses you can see my house way, way west, almost 100 miles west of the mountains.


 Big Bend National Park. Texas. It was here that I got my first taste of “real” hiking. And it was here that I discovered I was physically capable of more than I thought. And it was here that Mother Nature really turned it on – 80 degree temperatures one day and snow the next! I loved the range and diversity of the landscape. The mountains and the desert.


 Grand Canyon National Park. Arizona. Specifically The Bright Angel Trail. I met my friends Sue and Fred for an unforgettable journey into the Grand Canyon. It was my first night sleeping out in the open, beneath the stars. And my first overnight backpacking hike. It was challenging and at times I wasn't sure I would make it back up to the rim!


 Montana. After ten months on the road, I was in need of a break. Thank goodness for friends! Susan and Don allowed me to rest and relax in their vacation home in southwest Montana for almost the entire month of July! Then it was north to Glacier National Park before heading even further north.


 This year the actual Solstice is on June 20 at 23:09, however its effects will be noticed for a much longer period of time and are in fact currently being observed. Since the 20th is a weekday you can actually make it to the Fremont Fair and the associated parties going on this weekend, get down, recover and STILL get out in the wilderness or wherever else you enjoy being for the actual day of Solstice. (Just assuming wilderness is your thing since this is a blog about climbing Mount Rainier.)
 We took our first trip to the Jemez Mountains last Thursday to start woodcutting for the winter. When we got there we had to sit in the truck and wait for a rain shower to pass before we could start cutting. After the rain I noticed this nice pine tree with lots of green moss on the left side and the log and rock at it's base to make a nice photo.